Manual Firmware Installation
Info
You only need to do this if there is no firmware in your mainboard yet. If you have the mower already running or have received the hardware kit, you should be able to automatically update the firmware.Check the guide here: Firmware Update
In order for ROS to talk to your mainboard, it needs to be programmed with a Firmware. Don’t worry, the process is straightforward.
Warning
It’s very important that you get the correct firmware for your hardware version. Using the wrong firmware will cause the device to malfunction and in the worst case, destroy the hardware.Step 1: Download the Latest Firmware Bundle

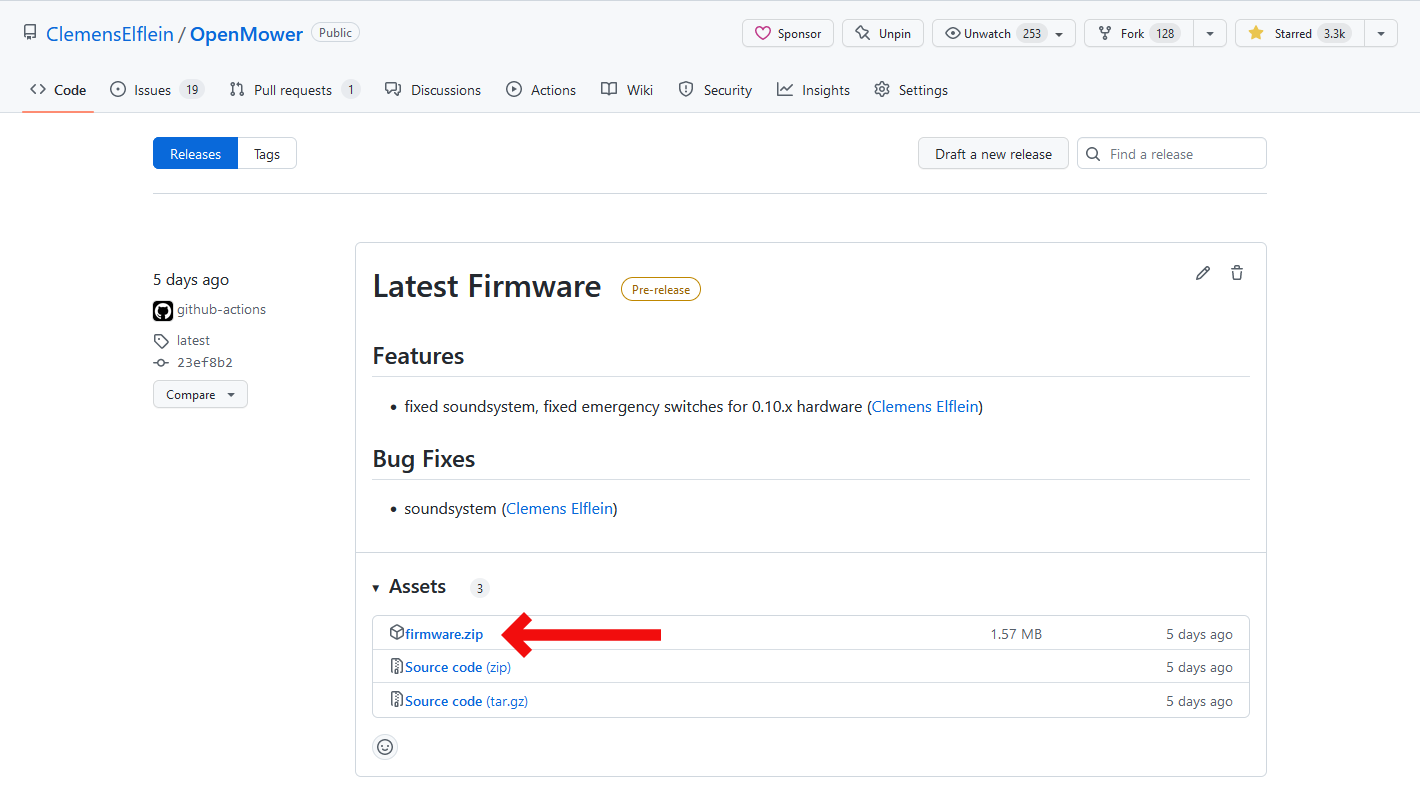
The first step is to download and extract the latest firmware bundle. The zip file contains all the firmwares supported by the OpenMower project. You can get the latest version here: 🔗 https://github.com/ClemensElflein/OpenMower/releases
Step 2: Find the Firmware
In order to find the correct firmware file, you will need two pieces of information:
2.1: The hardware version of your mainboard
The version of your mainboard is printed on the lower left side of your mainboard:

2.2: The type of IMU you are using:
| IMU Name | Image |
|---|---|
| WT901 |  |
| MPU9250 |  |
| LSM6DSO |  |
3.3: Select Firmware:
Now you can select the firmware according to this table:
| Mainboard Version | IMU | Firmware File | Notes |
|---|---|---|---|
| 0.13.x | LSM6DSO | 0_13_X/firmware.uf2 | If you have bought the 0.13.x kit in Vermut’s shop, this is your version. |
| 0.12.x | LSM6DSO | 0_12_X/firmware.uf2 | If you have bought the 0.12.x kit in Vermut’s shop, this is your version. |
| 0.11.x | MPU9250 | 0_11_X_MPU9250/firmware.uf2 | |
| 0.11.x | WT901 | 0_11_X_WT901/firmware.uf2 | If you have bought the 0.11.x kit in Vermut’s shop, this is your version. |
| 0.10.x | MPU9250 | 0_10_X_MPU9250/firmware.uf2 | |
| 0.10.x | WT901 | 0_10_X_WT901/firmware.uf2 | If you have bought the 0.10.x kit in Vermut’s shop, this is your version. |
| 0.9.x | MPU9250 | 0_9_X_MPU9250/firmware.uf2 | |
| 0.9.x | WT901 | 0_9_X_WT901_INSTEAD_OF_SOUND/firmware.uf2 | WT901 gets soldered instead of the sound module, since this mainboard does not have a WT901 header |
| 0.9.x | WT901 | 0_9_X_WT901/firmware.uf2 | IMU Connected on the MPU9250 Slot using SerialPIO |
Step 3: Install Firmware
In order to not draw too much current from your computer’s USB port, make sure that no modules (Raspberry Pi, GPS, ESCs) are plugged into your mainboard. Then connect the Raspberry Pi Pico with a micro USB cable to your PC.
Your PC should show a new mass-storage device. Copy the UF2 file identified above onto the mass-storage and wait for the Pico to reboot. The process takes about 10 seconds.
Step 4: Done 🎉
Your mainboard now has the latest firmware and is good to go. You can plug all modules into the mainboard now.