GPS Base Setup
This part of the documentation is work in progress. There are many ways of setting up the RTK base, here is one using RPi 0W, ZED-F9P and a web based software RTKBase. On discord you may ask karl.ranseier for support.
Prerequisites
- Raspberry Pi 0W
- µSD card
- Power supply for RPi
- Ardusimple ZED-F9P
- A cable or combinatin of cables to connect micro usb male to micro usb male:
- A windows PC
- Stable internet connection (no disconnection within one hour)
Installation
If you know about RPi and have already a functional OS, you may head on to “Software”, but in my case it did not work using an older image.
Preparing sd card
Download RPi Imager for windows
Start Imager:
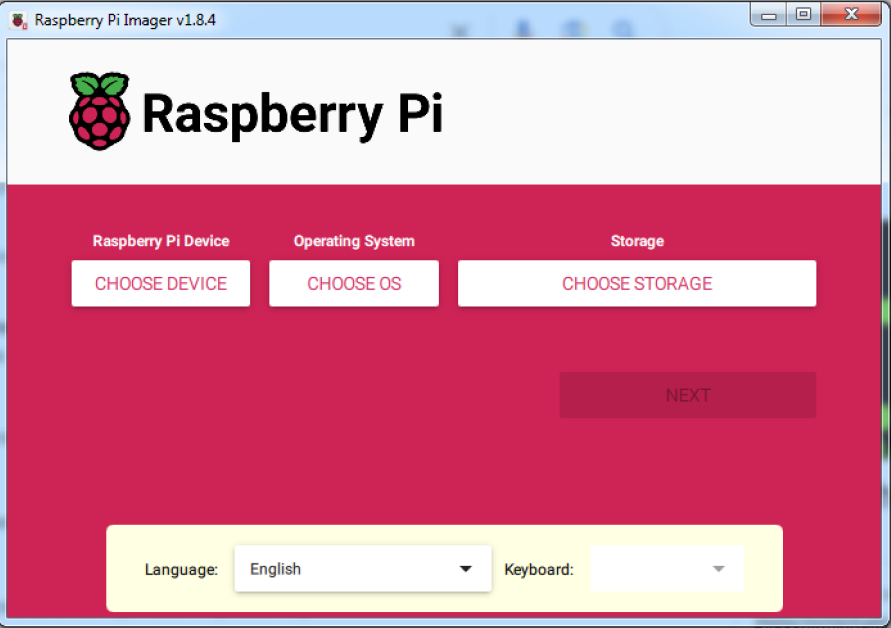
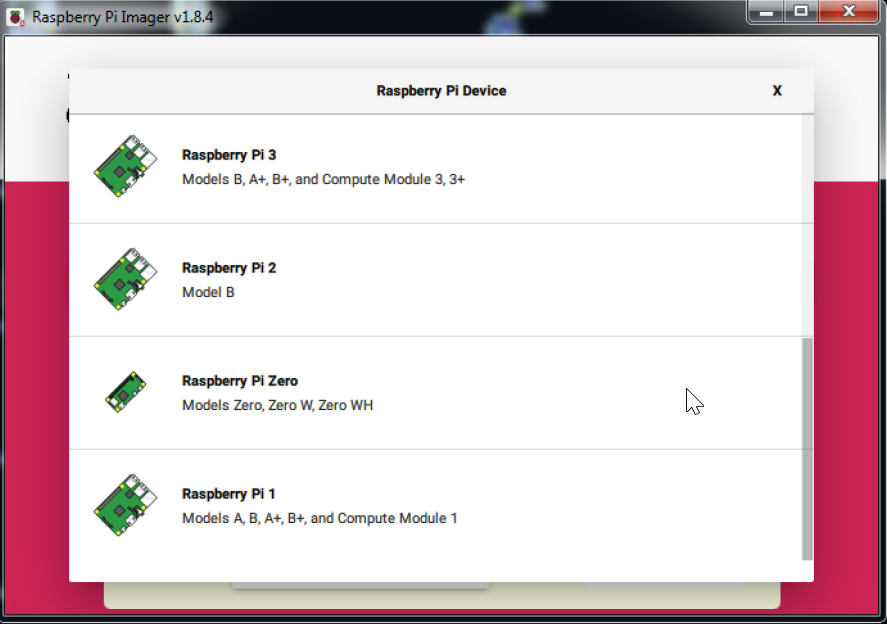
Choose your RPI (in my case RPi 0W, choosing wrong RPi will most probably result in many problems)
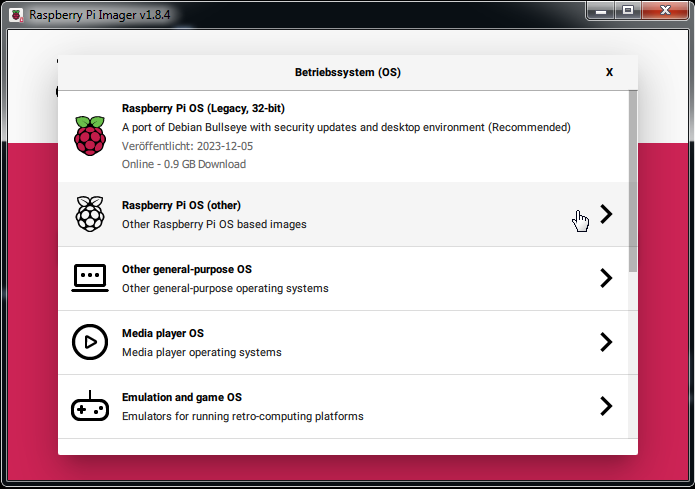
Choose Operating system “Raspberry Pi OS lite (legacy, 32bit)

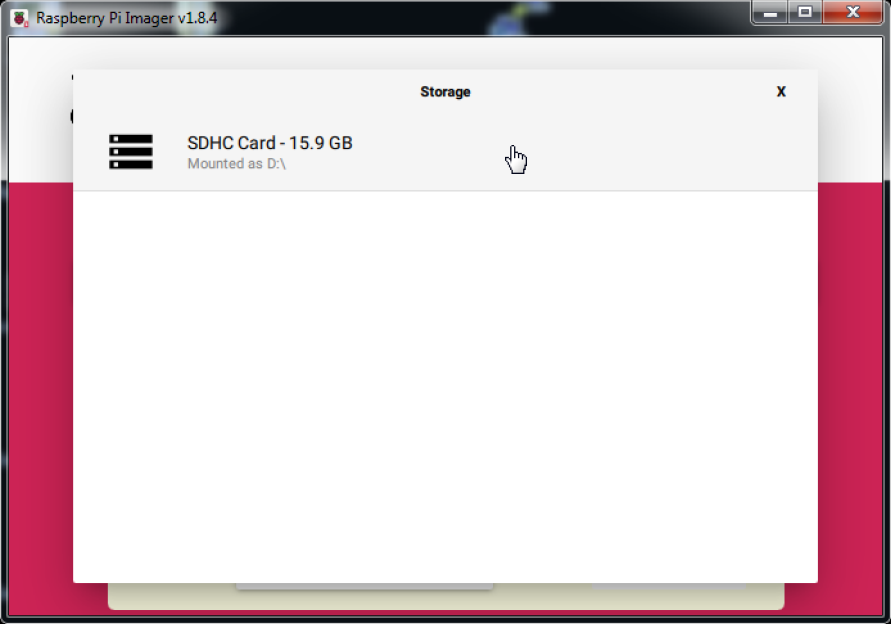
Select your sd card:
Press next so this will appear:
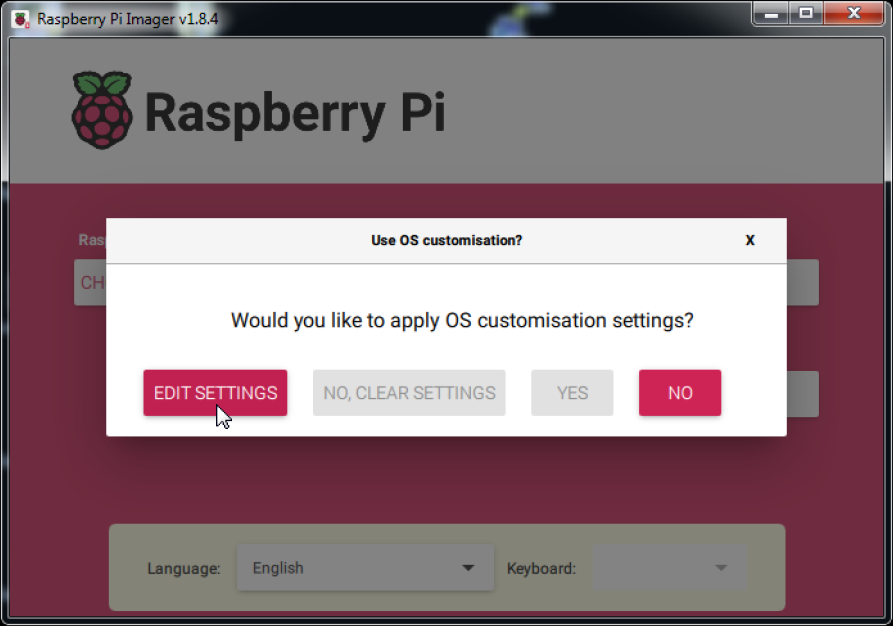
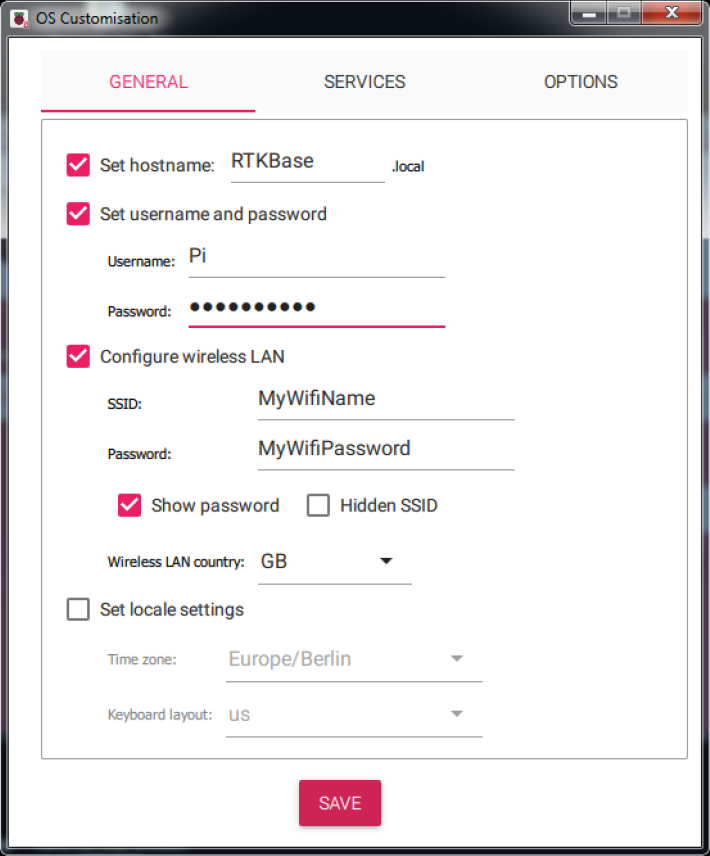
Edit settings like the following (and use your personal WiFi settings and country), where you set a good password for your Pi account. Username and password are case sensitive!
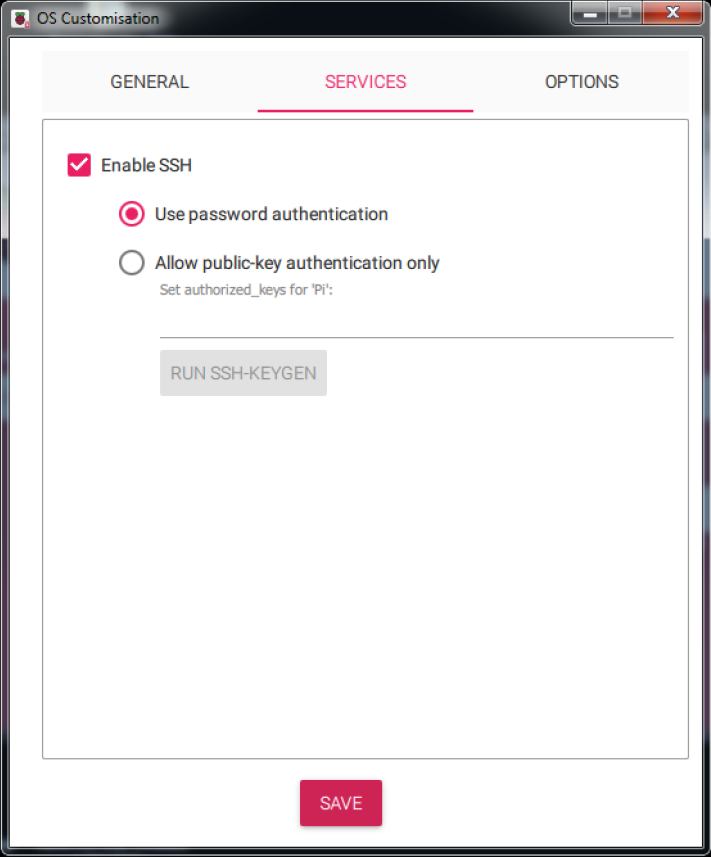
activate SSH:
Press save to see this:
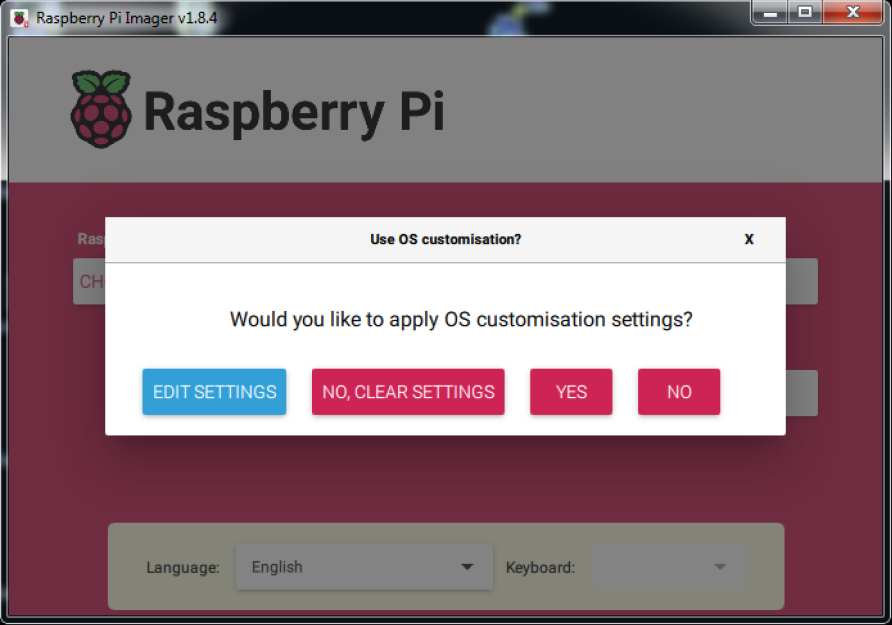
Click on YES and allow to overwrite the data on your sd card (if you are sure, that you will not miss them). It will start downloading and writing the data:
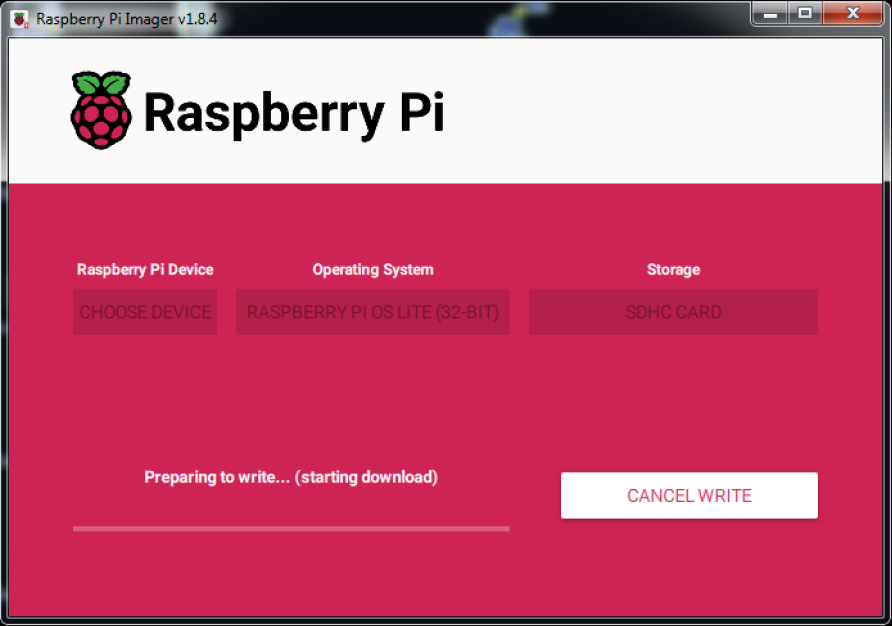
Wait until it is finished, it may take half an hour, depending on your internet connection ;-)
Start your RTKBase RPi
- Put your sd card into your RPi
- Connect ZED-F9P via usb to your RPi (NOT after the installation, it will be configured during installation).
- Power your RPi
Connect to RPi
Get from your router the IP of your RPi
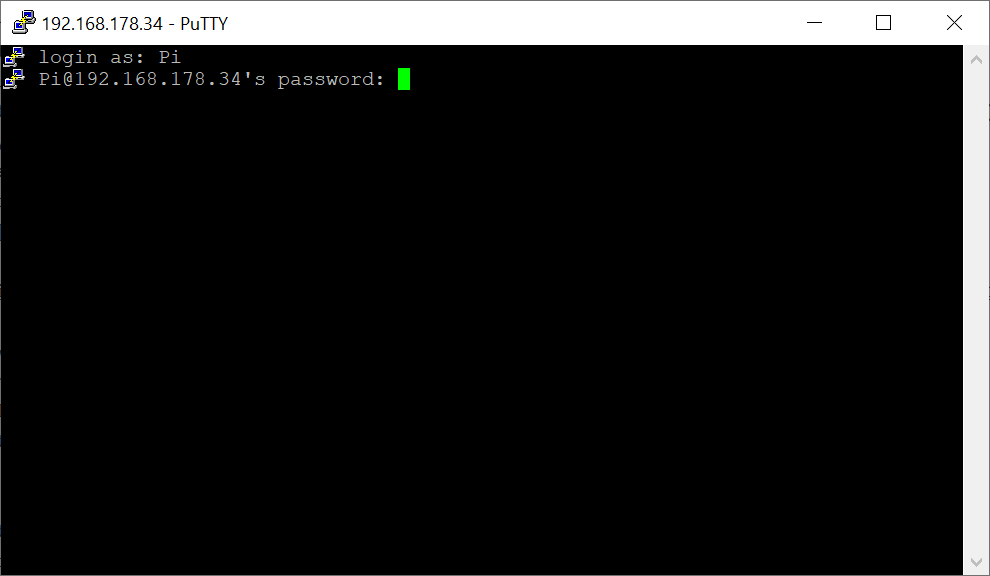
Start PuTTY and connect to RPi, where you enter the local IP of your RPi
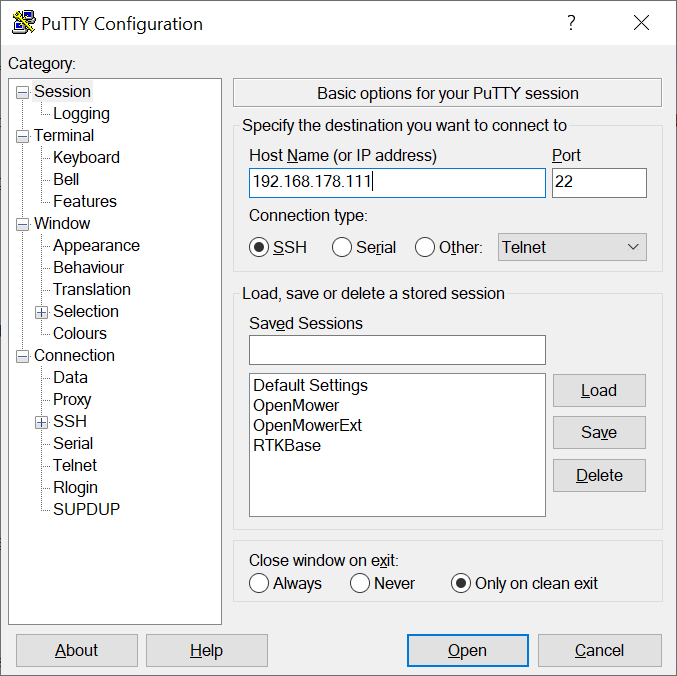
Enter your Username Pi, press enter and than enter your password:
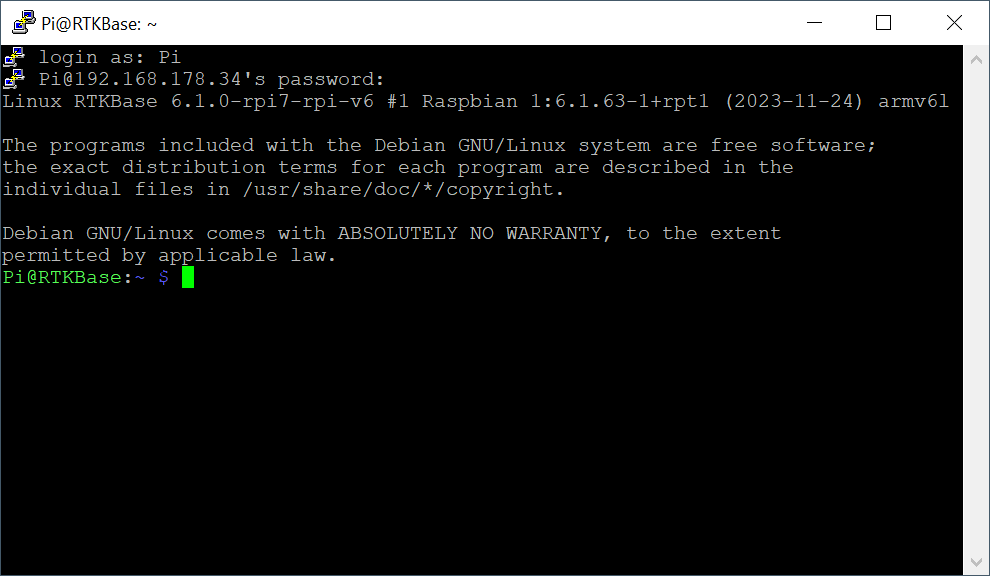
Software
Is your ZED-F9P connected? Do it!
We will use RTKBase
To install it, you can use the following lines, which you can copy and paste at once. The original recommendation is no sudo in front of chmod. That did not work for me.
cd ~
wget https://raw.githubusercontent.com/Stefal/rtkbase/master/tools/install.sh -O install.sh
sudo chmod +x install.sh
sudo ./install.sh --all release
A very long output should follow. It ends with:
GNSS Configuration: done
################################
STARTING SERVICES
################################
Created symlink /etc/systemd/system/multi-user.target.wants/str2str_tcp.service → /etc/systemd/system/str2str_tcp.service.
Job for gpsd.service failed because the control process exited with error code.
See "systemctl status gpsd.service" and "journalctl -xe" for details.
################################
END OF INSTALLATION
You can open your browser to http://192.168.178.34 (here the editor deleted IPV6)
################################
Pi@RTKBase:~ $
Installation finished, go on and configure your RTKBase
Configuring your RTKBase
Start a browser and enter the IP address of your RTKBase. You will get this:
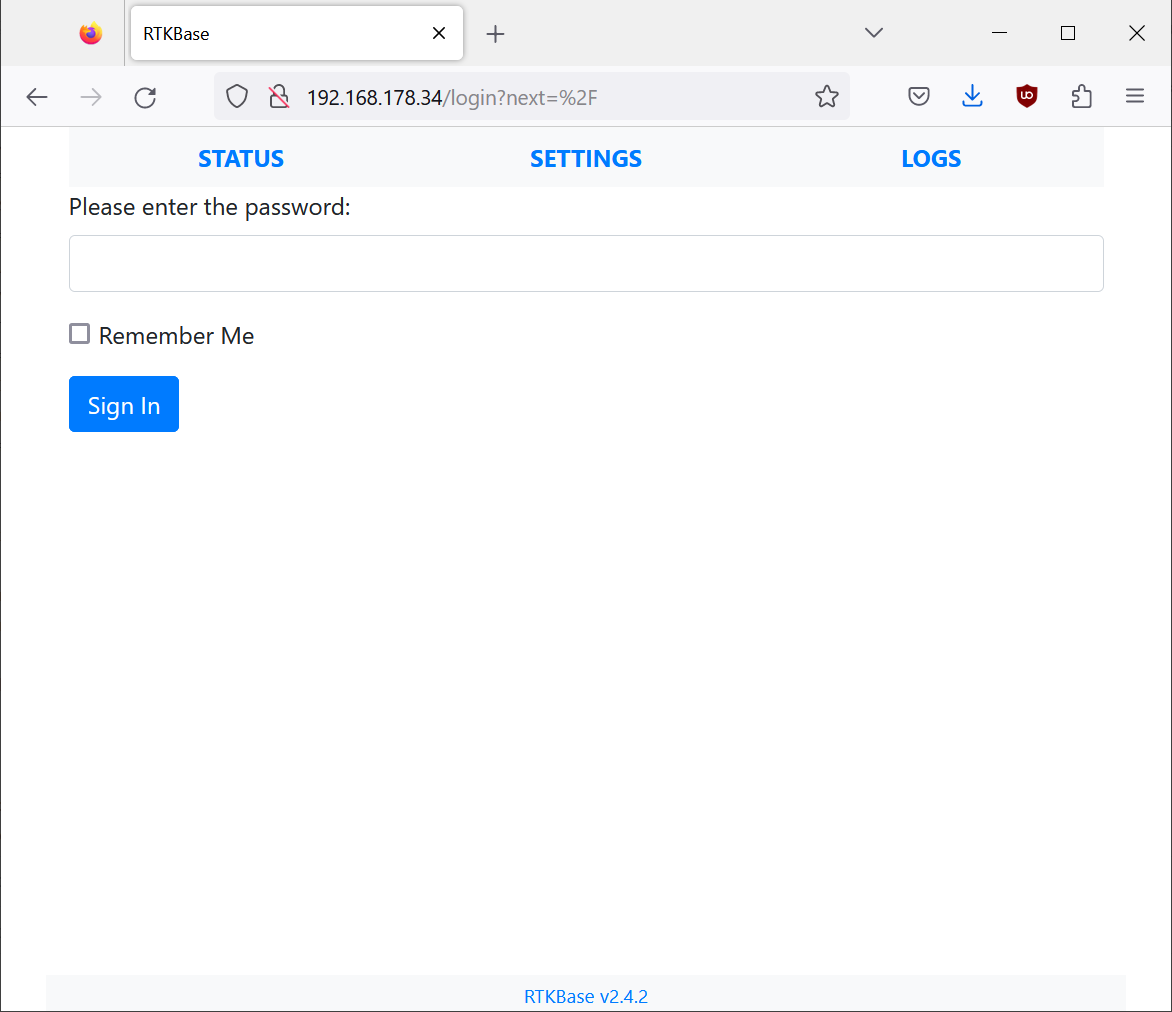
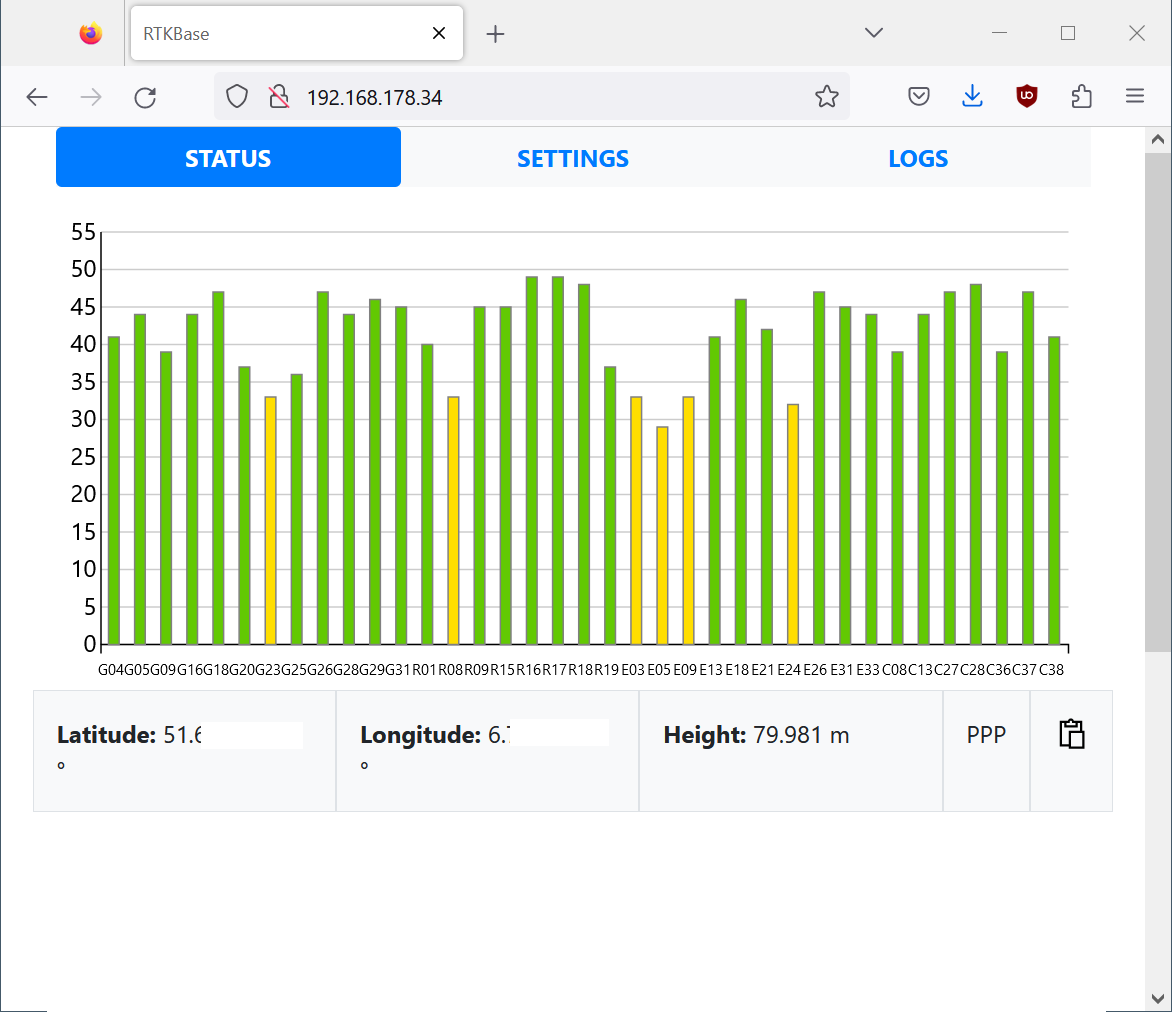
Enter as password admin. On the following site press the copy symbol right to PPP.
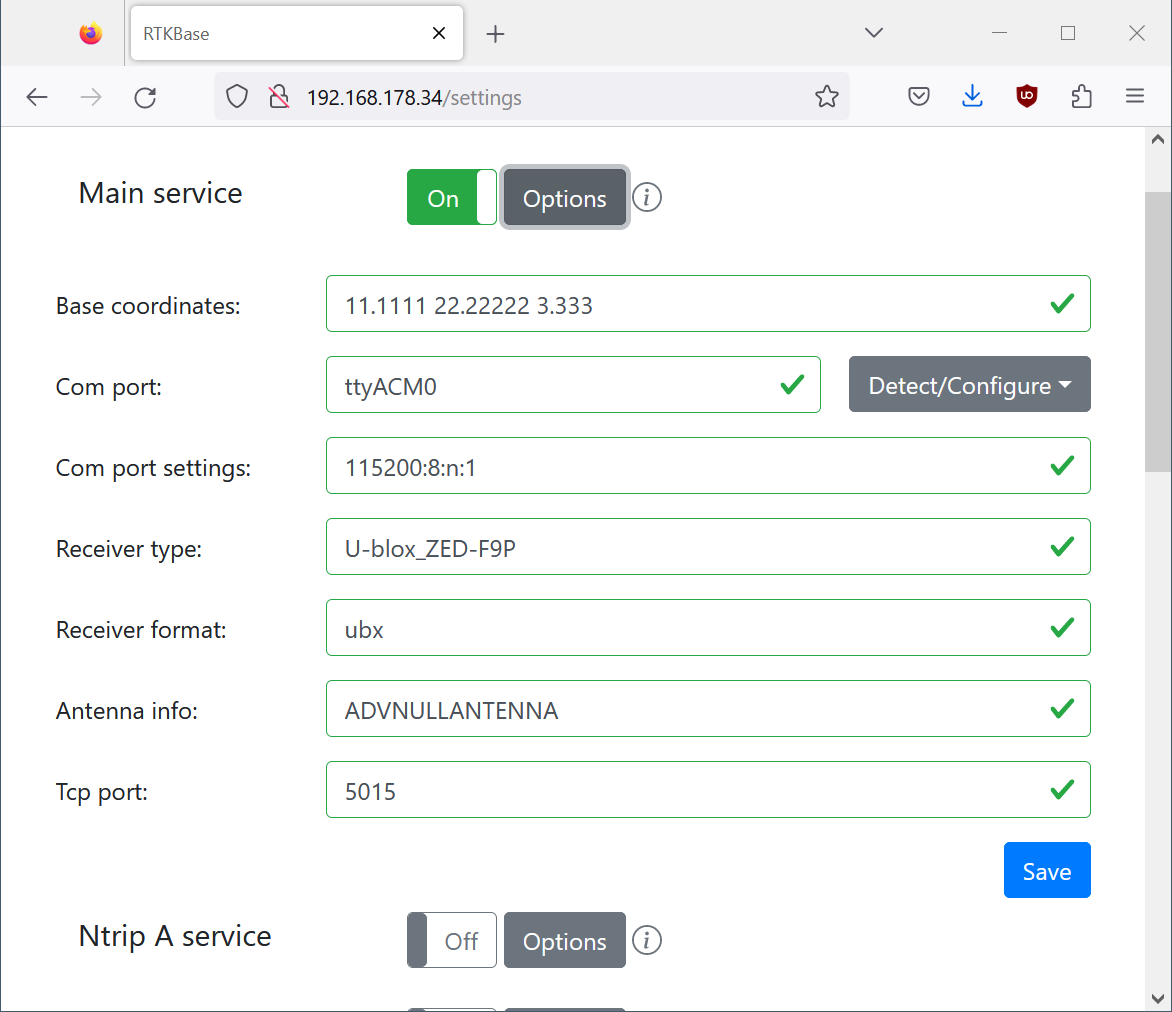
Go to settings and press “options” right to “Main Service”, than paste your coordinates to “Base coordinates”:
Press on options again, than on options right to “Caster Service”
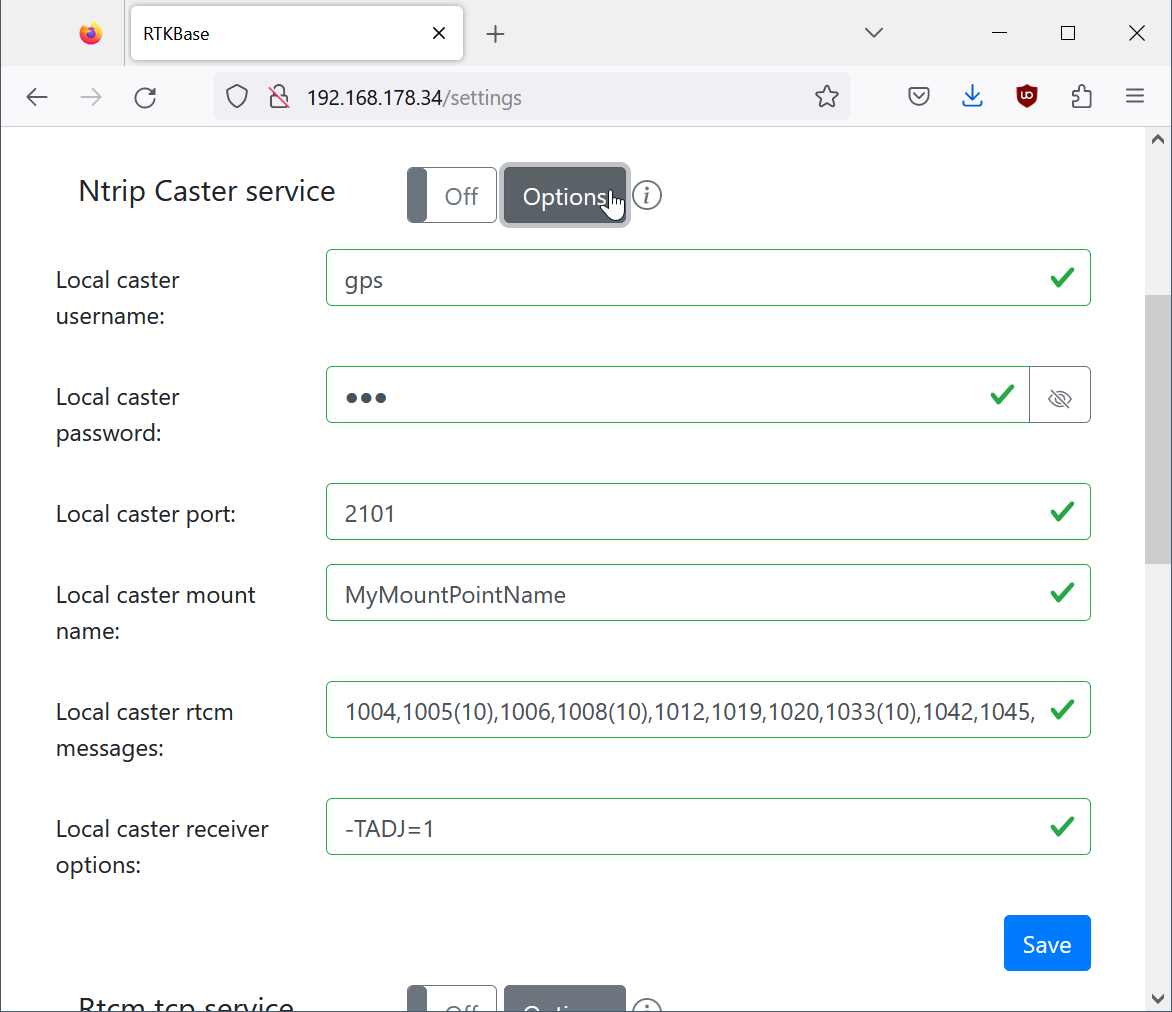
Here you have to enter the setting set up in your mower, standard is: username gps and password gps. Select the right mount point. I have named it like my city, in mower config and here.
Save the config
Switch on “Caster Service” and “File Service”, it should look like this:
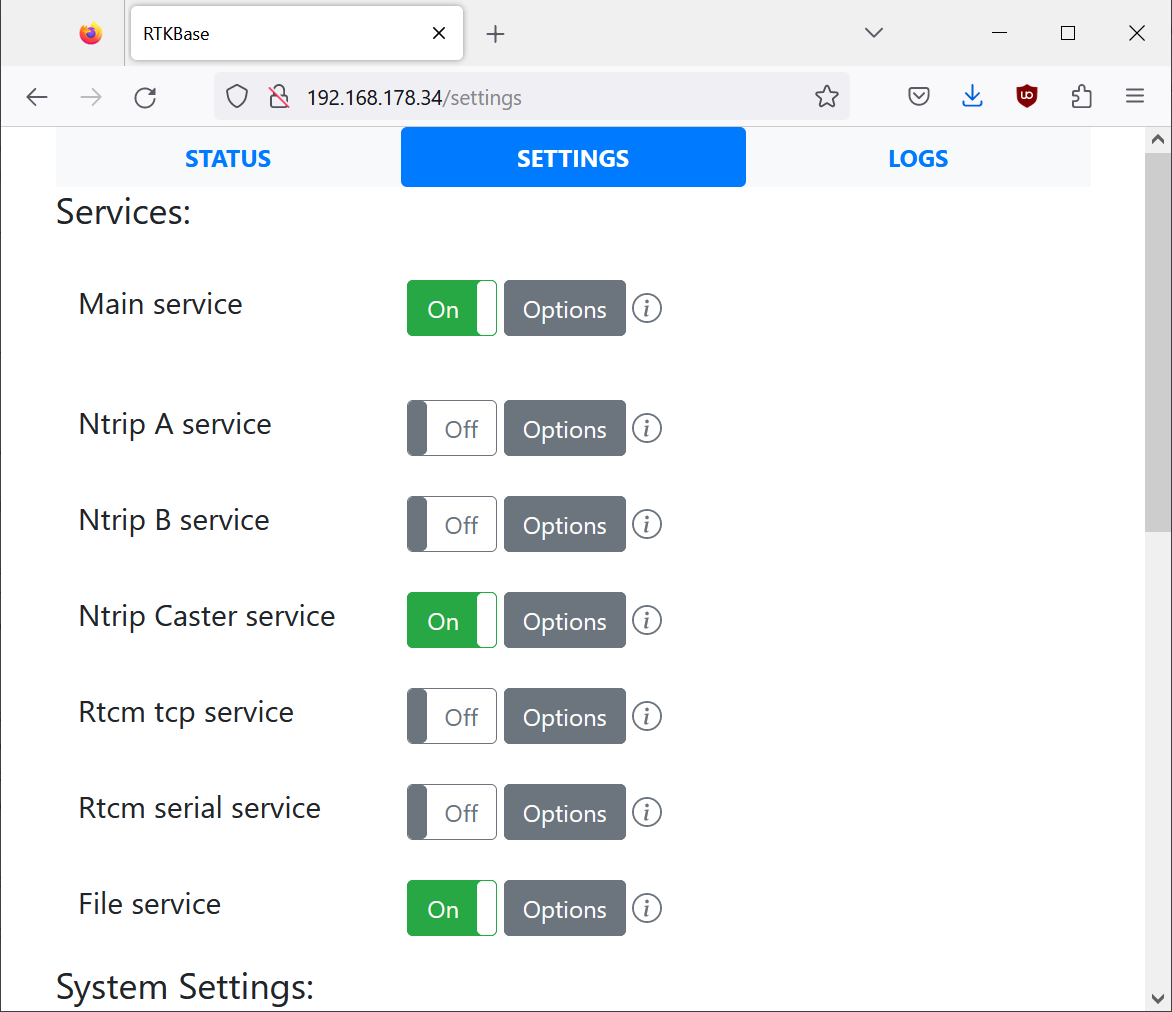
Eventually change your password below these options.
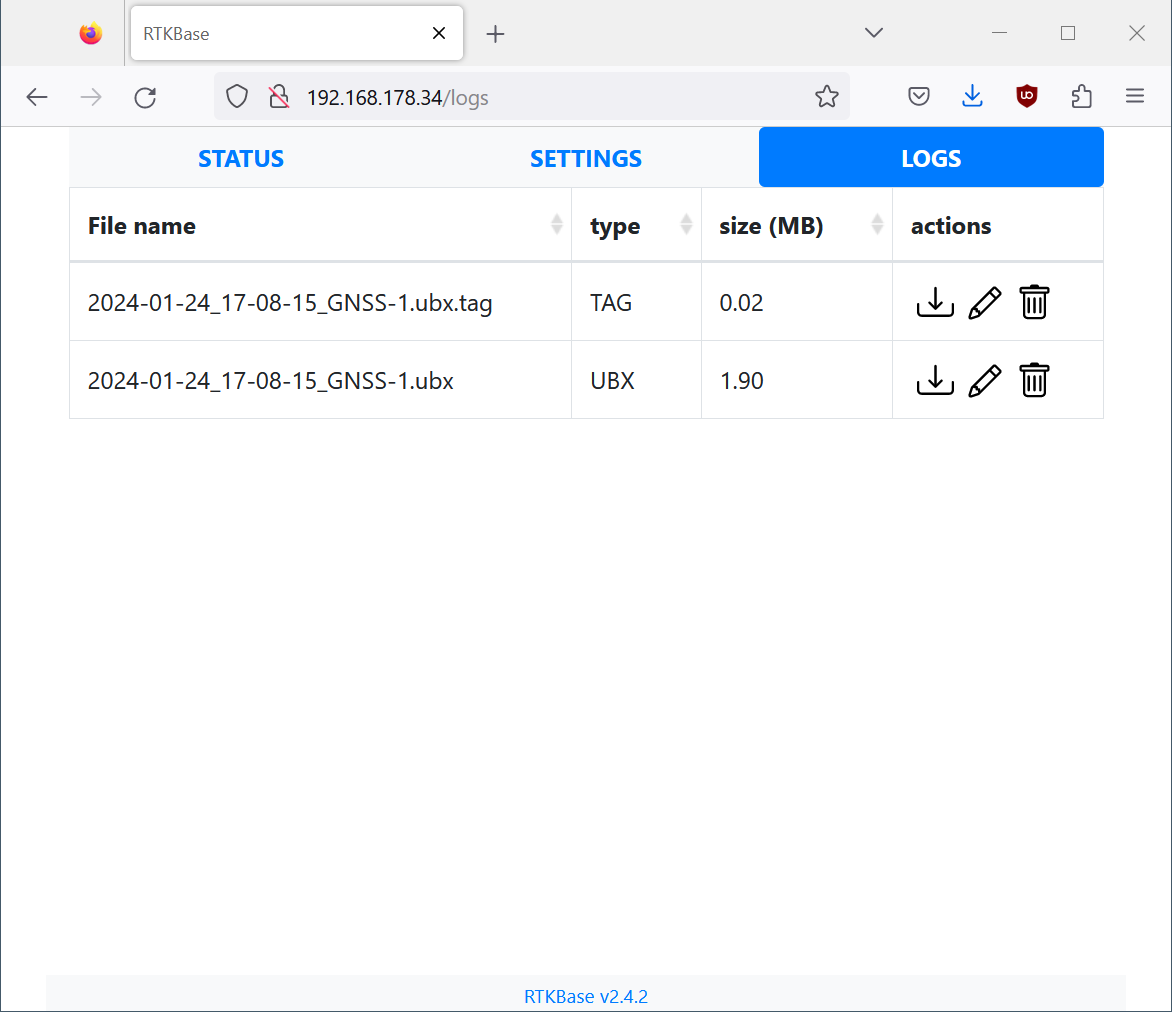
At logs you should find at least two files:
Find the position of your RTKBase
There are several ways to find your position. To use openmower you do not need the perfect position. Therefore the first option should be your choice, if you want a fast and good result for openmower.
Easy and good way
Click on the symbol right to PPP to copy the values to the clipboard:
Enter these values to your options at MainService.
Save
ReActivate Ntrip Service
Finished!
More complicated and more exact way
You have to set up the logging of your position as mentioned above by activating “file service”. You should wait for a day to average all the values to get a high precision position.
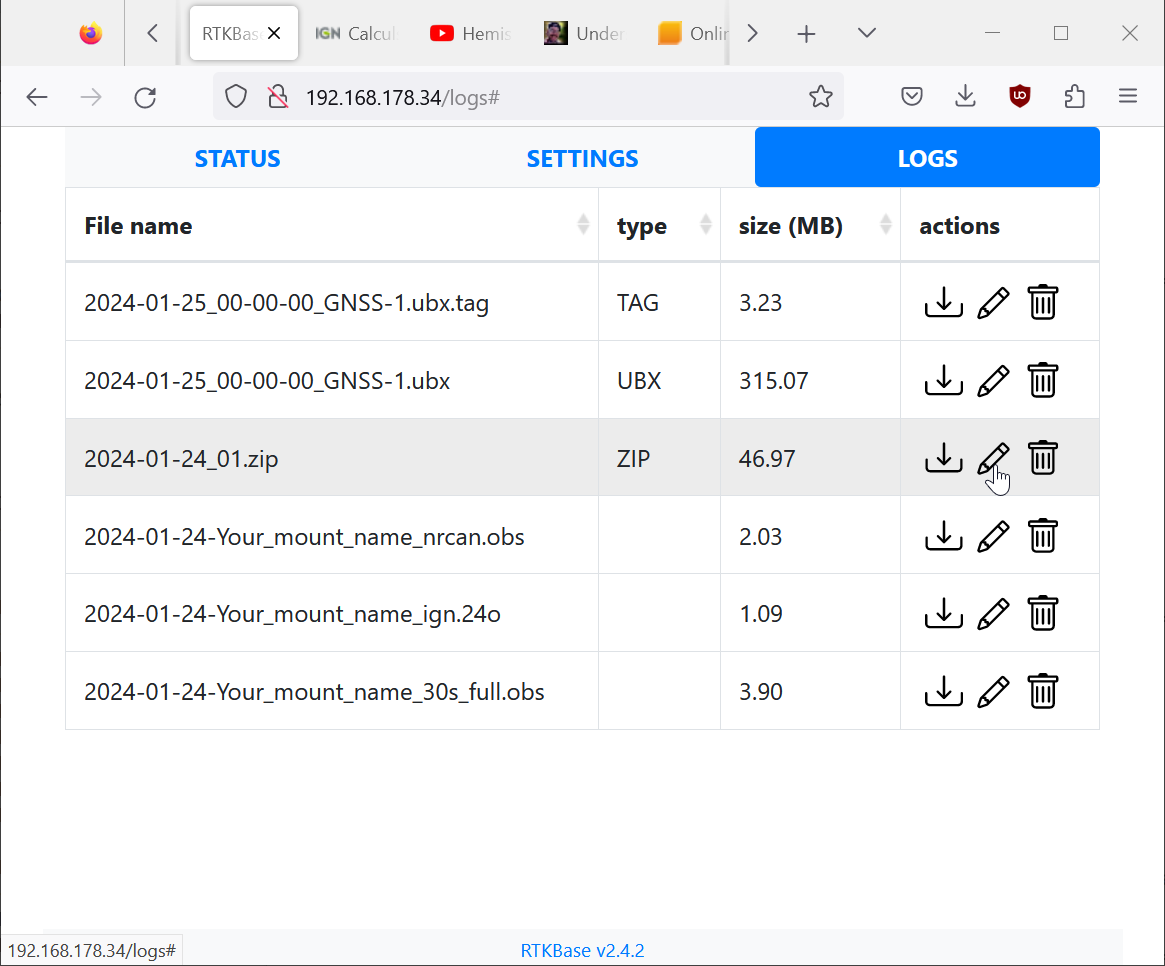
After midnight you find a zip-file at logs. This you can convert to a Rinex file. To understand this file you may check RINEX-File , but you don’t need it.
Press on the pencil right to the zip-file:
“Create Rinex file”:
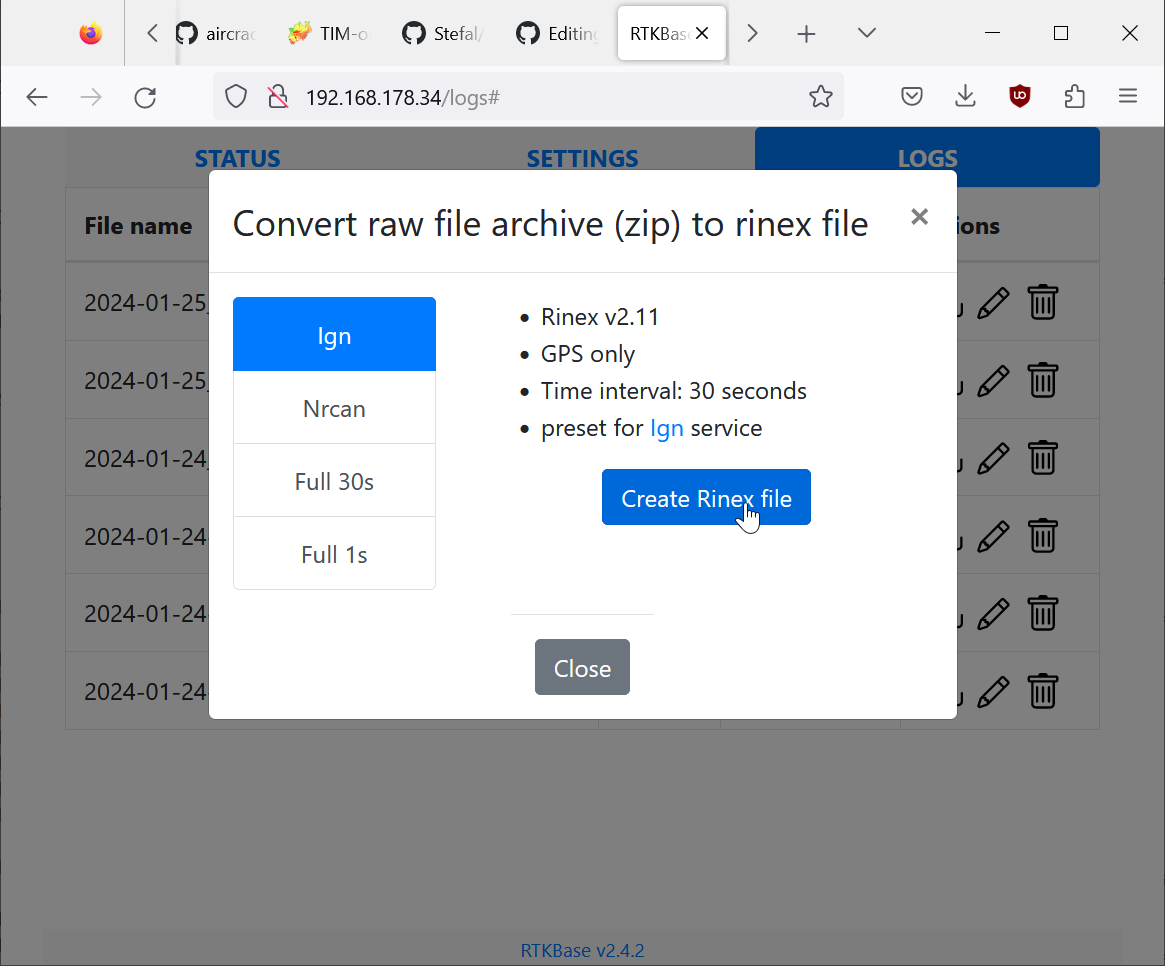
Download it when finished (may take a while, some minutes or longer)
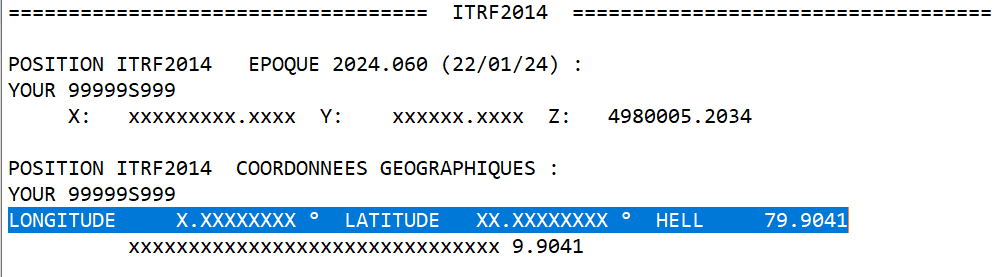
Go to Calculator, upload your Rinex file and enter your email address. Don’t forget to enter the “no robot”-verification.
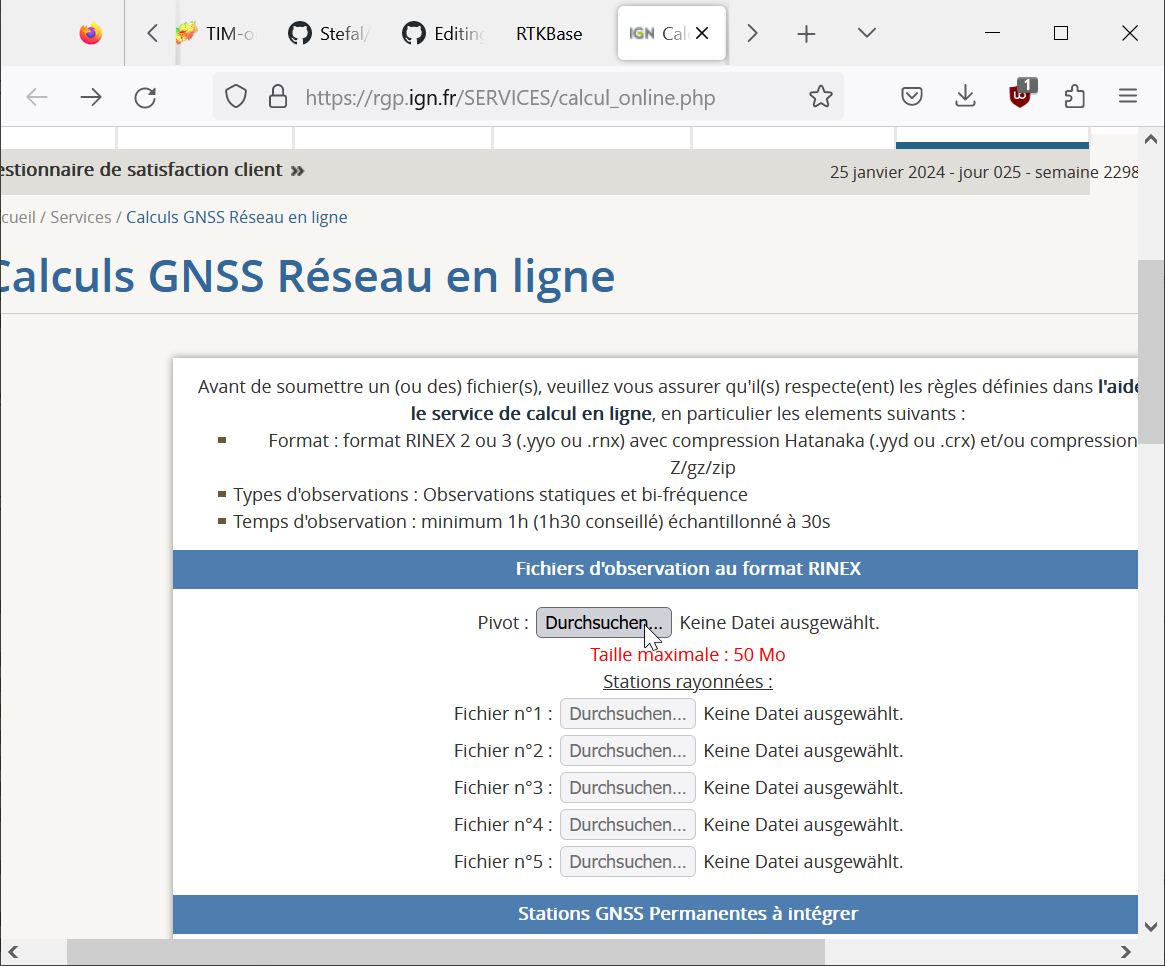
When you received the email, look at “ITRF2014” (or search for “longitude”) and see your values like LONGITUDE 6.XXXXXXXXX° LATITUDE 51.XXXXXXXXX° HELL 79.9041
You enter these values to your options at MainService. Be aware that the order of LONGITUDE and LATITUDE is switched!
Save
ReActivate Ntrip Service
Finished!
Thanks to Stefal and all the contributors of RTKBase and the used resources.