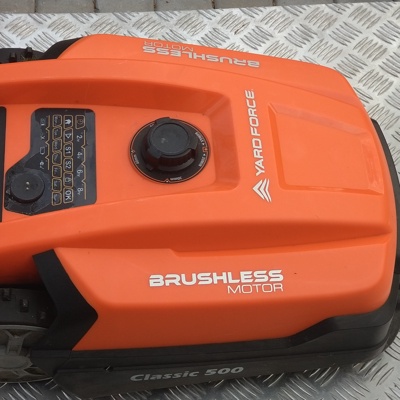
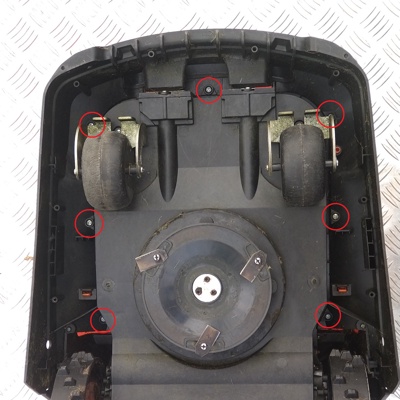
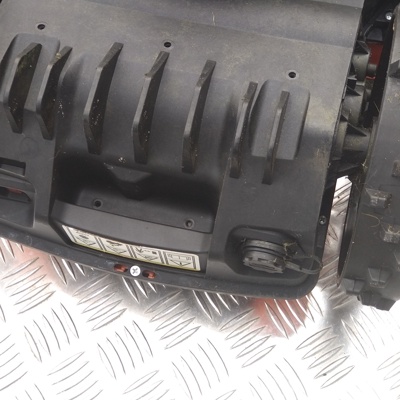
Disassembling the YardForce Classic 500
Disassembling the robot prior to mounting Vermut’s 0.13.x kit.
Unscrew top cover
Pry the cover
This is a bit tricky in some parts, so I recommend you checking YouTube video here: YouTube Video. The relevant time is: 2:25 - 5:08.
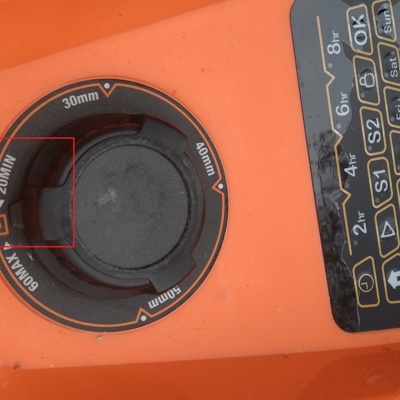 1 Set cutting height to minimum (20mm)
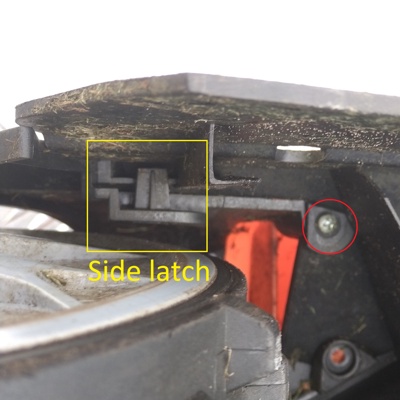 2 Unscrew small screws next to the latch
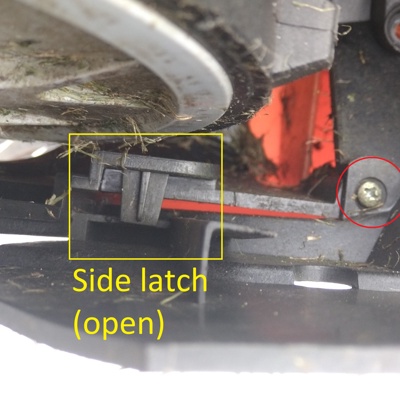 3 Maybe it's optional, you see that I've managed to unlatch it with screw in place
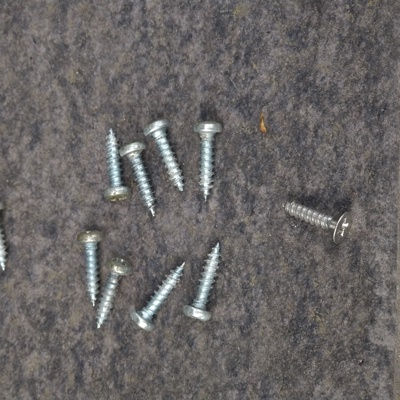
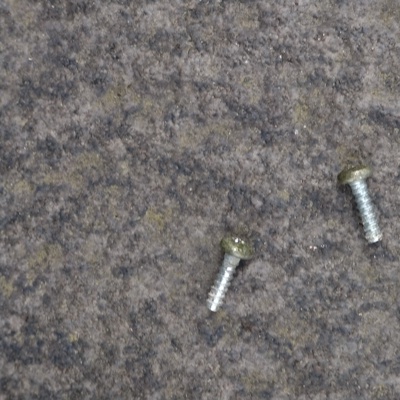 4 Save the screws
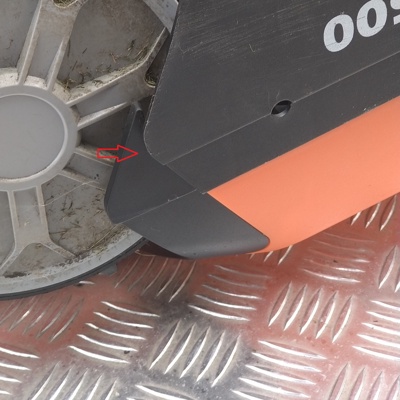 5 Press the black part to unlock side latch
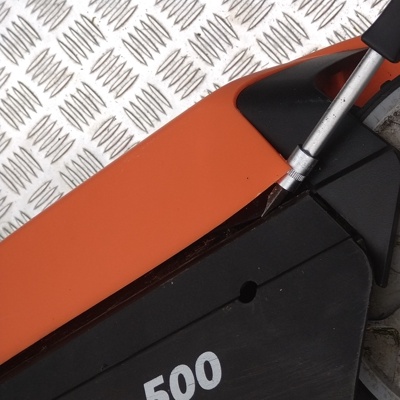 6 Push the bottom latch with a finger (not visible here) while lifting the cover
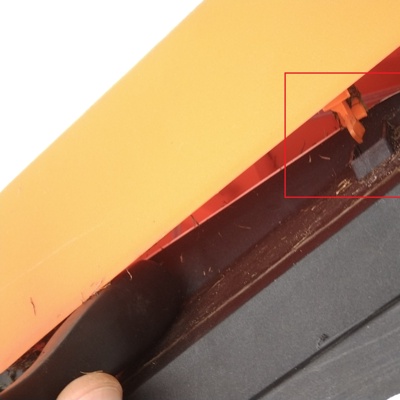 7 Bottom latch came out
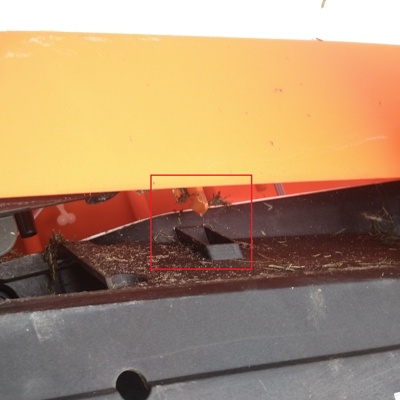 8 Opposite bottom latch came out, cover can be carefully lifted
Unplug the cover
2 small wires on the front going to wheel sensors, and 1 wide wire from mainboard to cover UI board. Screwdriver is in the pictures for illustrative purposes, you can simply hold it with your hand.
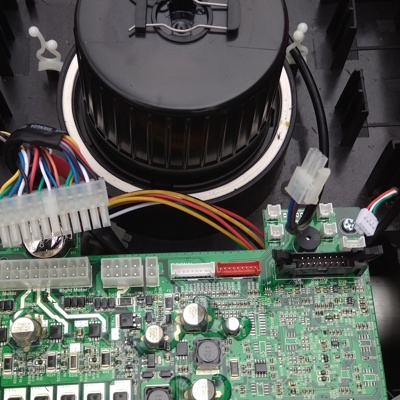
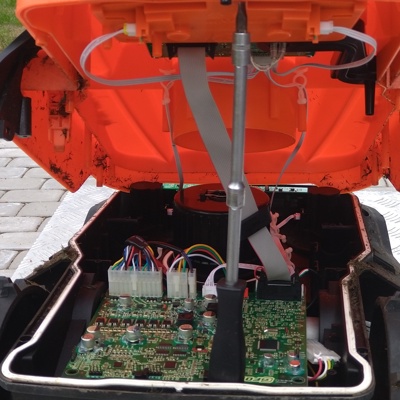 1 Back view, unplug wide cable from mainboard
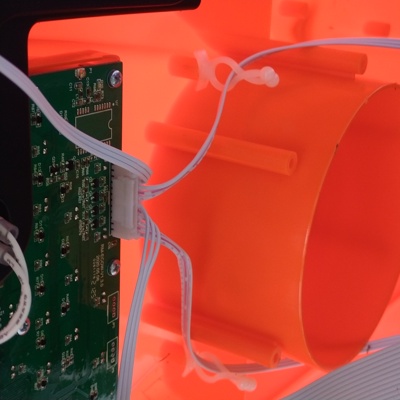 2 Front top view
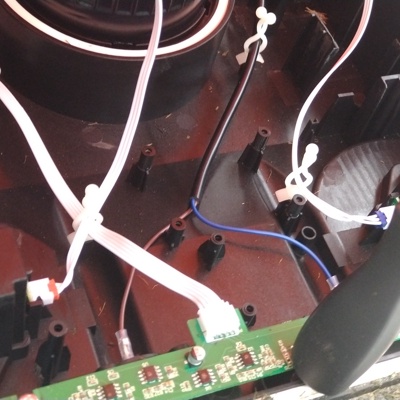 3 Front bottom view, unplug wheel sensor cables
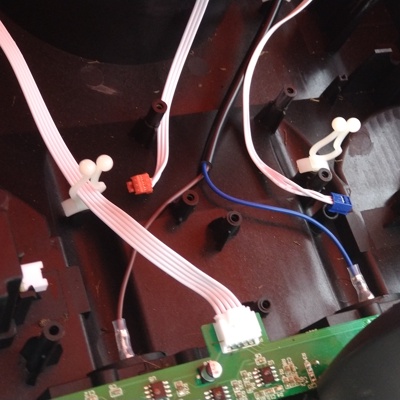 4 Wheel sensor cables unplugged and removed from wire organizers
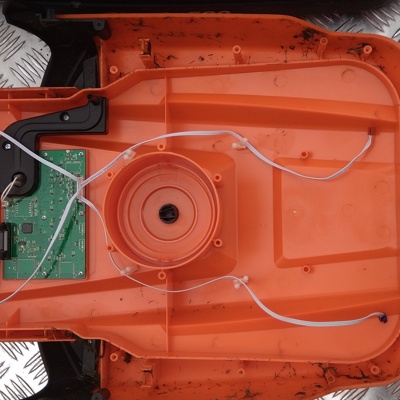 5 Cover removed
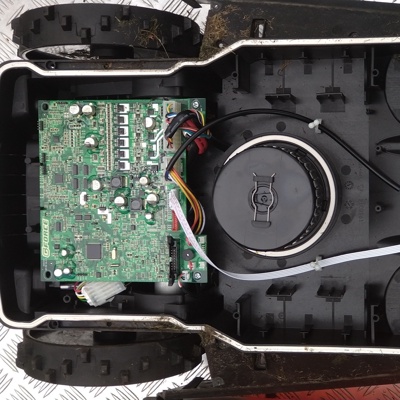 6 Mower with cover removed
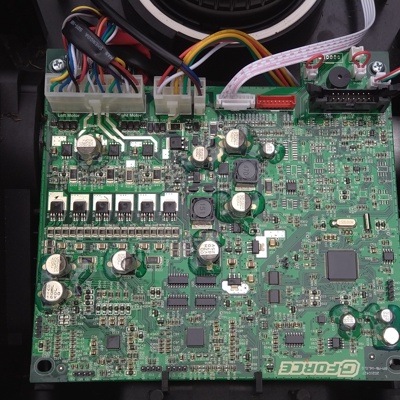
Unplug the mainboard
Remove front PCB
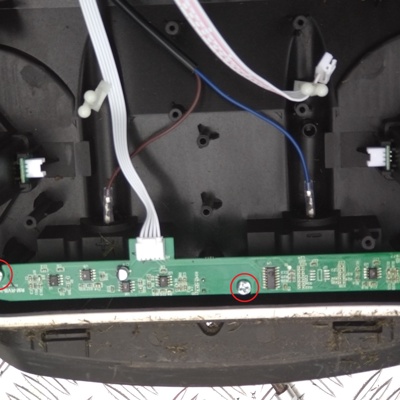
Remove cover UI board
🔧
This section assumes that you are completely replacing the stock UI board with custom one. There is an experimental option to reuse stock board with custom firmware. If you are going to go this path - leave it in place. You can find more information in Discord, as of now it’s work in progress.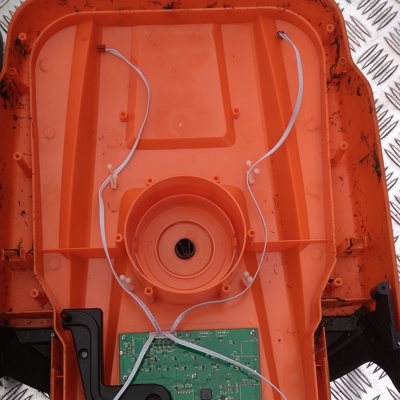 1 Unplug stop button sensor wires
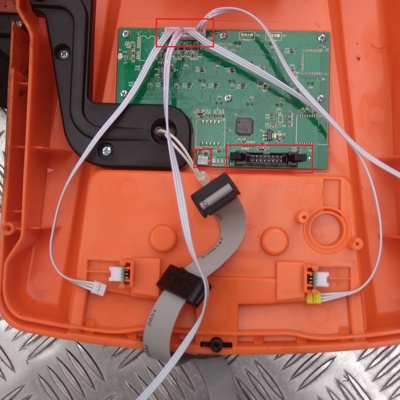 2 Unplug mainboard cable, emergency sensor cable and rain sensor
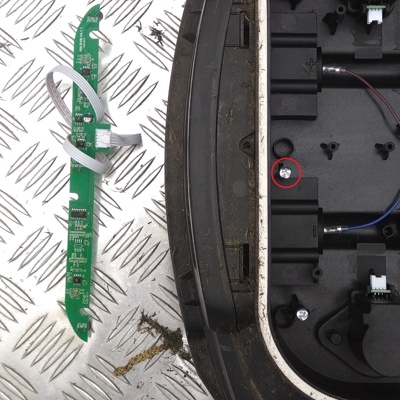
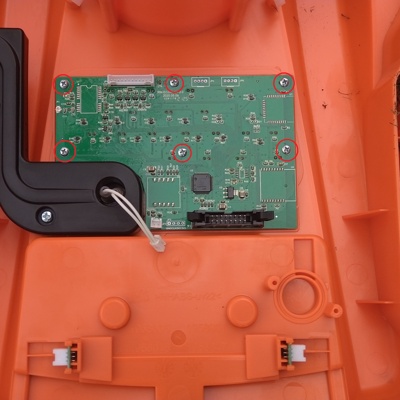 3 Unscrew the board, save the screws
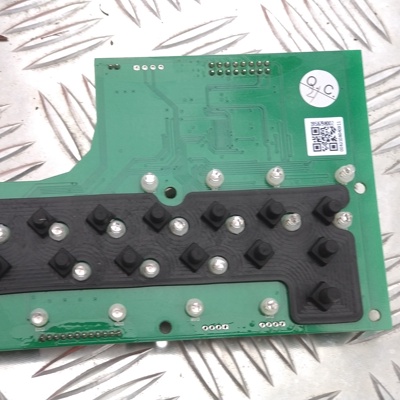 4 Remove rubber protector from the board
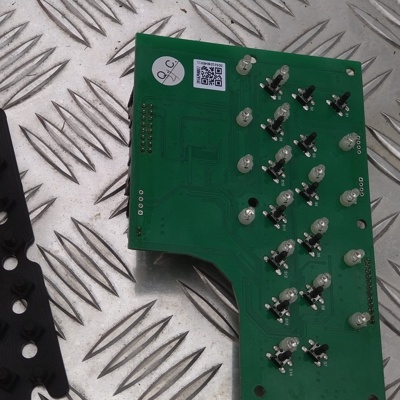 5 Save the protector, throw everything else away
Last modified October 27, 2024: feat: initial compatible mowers list and nonOS part from reverted #11 (#38) (a3ee6ab)
