Flashing the CM4 eMMC
CM4 with eMMC only
This guide applies only to CM4 variants with onboard eMMC storage. The CM4 Lite variant has no eMMC — it uses a microSD card instead and does not require this process.
Check your CM4 model number: variants with eMMC have the storage size in the name (e.g. CM4008032 = 32 GB eMMC). Lite variants are explicitly labelled “Lite” (e.g. CM4008000).
The CM4 with eMMC has onboard flash storage instead of a microSD slot. To flash a new image, you need to put it into USB boot mode so it appears as a mass storage device on your computer.
This guide covers the OpenMower-specific steps. For full reference, see the official Raspberry Pi documentation .
Prerequisites
- A host computer (Linux, Windows, or macOS)
- A micro USB cable (connected to the USB port on the xCore board)
- The OS image you want to flash (e.g. OpenMower OS)
Step 1: Enter USB boot mode
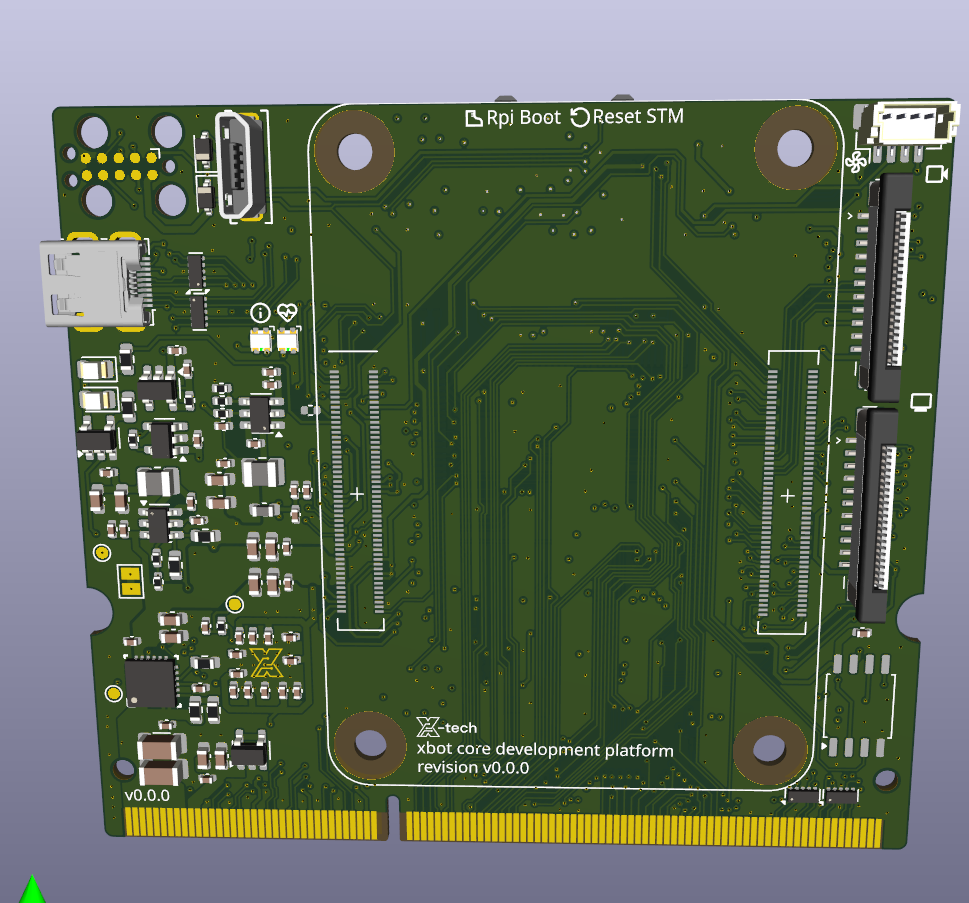
The xCore board has an Rpi Boot button (left of the two buttons, label printed below the CM4 slot).
- Hold the Rpi Boot button.
- While holding it, connect power to the xCore board (or plug in the micro USB cable to your host computer).
- Release the button once powered.
The CM4 is now in USB boot mode.
Step 2: Install rpiboot on your host computer
sudo apt install rpiboot
sudo rpiboot
- Download and run the installer from the usbboot releases page .
- Reboot your computer after installation.
- With the CM4 in USB boot mode, open Start → rpiboot - Mass Storage Gadget.
Build rpiboot from source, then run:
rpiboot -d mass-storage-gadget64
See the usbboot repository for build instructions.
Within a few seconds the CM4’s eMMC will appear as a USB mass storage device on your computer.
Tip
If the device is not recognised, avoid USB hubs — connect the micro USB cable directly to your computer.Step 3: Flash the image
Use Raspberry Pi Imager to write your OS image to the eMMC device. Select the eMMC as the target storage — it will appear like any other USB drive.
Alternatively, use dd on Linux/macOS:
sudo dd if=your-image.img of=/dev/sdX bs=4MiB status=progress oflag=sync
Replace /dev/sdX with the actual device path of the eMMC. Double-check this before running.
Step 4: Boot from eMMC
Once flashing is complete, disconnect the micro USB cable and power-cycle the board. The CM4 will boot from the newly flashed image.